
OK, so I always knew there would have to be a “waterfalls” blog before too long. Here goes.
I think I may have mentioned in an earlier post that I’d always wanted to be able to achieve “calendar” type images. Upon reflection now I may have overdone the waterfalls a bit to the point of becoming almost a fetish. To this day I still find them irrisistible and when out in the great outdoors with family and/or friends the very word “waterfall” gets my blood pumping – especially the prospect of visiting a new one. It’s a given that a little waterfall research is conducted prior to each trip to a new holiday destination.
This has turned out to be quite a long blog so I will break up the text a bit with some images from my collection. I am fortunate in that where I live to the west of Melbourne is within close proximity of a number of pretty falls. The vast majority of these images have been taken with my Nikon1AW1 mirrorless camera, with a 10-100mm lens and a circular, variable ND filter (will explain more of this further along).
When shooting waterfalls, there are a few technical considerations to think about, expecially if you’re looking for that silky effect which is prevalent in calendars, postcards etc. This is by no means the only “correct” way to capture waterfalls, or even desirable by some – it comes down to personal taste. This blog features falls shot at a variety of different exposures.
Equipment:
- Camera – preferably one which can be operated manually as opposed to fully automatic. This is especially important if you are chasing the silky effect.
- Lens – many waterfalls have quite long drops. You may need a wide angle lens to capture them in one shot. A kit lens of 18-55mm is often adequate though. I would personally not recommend a 50mm lens for waterfalls as the field of view is too narrow.
- Filter(s) – sometimes you can get away with long exposures without a filter (for instance if there is low light. If a waterfall is in full or partial light though, you will be needing a neutral density (ND) filter of some kind. The most common setup is a bracket which fits to the screw ring of your lens (purchase one to match your diameter). You then slide square filters into the bracket which are dark, like sunglasses of varying darknesses for your camera. These also come with graduated filters which can be used to shade a bright section of your image (for instance, if the sky is brighter than the bottom of the scene. I have listed a few options below but am not providing links to websites as they are very easy to google.
- Lee filters are high quality, with a price tag to match. Well respected among photographers
- Cokin are another high end brand which are slightly cheaper
- Ebay has a range of cheap alternatives, which depending on your budget may be worth exploring
- It is also worth exploring circular, variable ND filters. These are essentially two circular polarisers stuck together which screw onto your lens. As you turn one of the lenses, the darkness changes. This enables you to “dial in” your exposure.
- Tripod – essential to avoid blurry photos. Choose your tripod to suit what kind of photography you do most. The sturdier the better, but have a think about how heavy and bulky it is if you’re looking to do long and adventurous hikes with it. I often pack a smallish “octopod” for convenience.
- Remote shutter release or self timer – again, to reduce camera shake which leads to blurry images. It’s surprising how much blur the very act of pressing the shutter button creates. Many new cameras now come with compatible smart phone apps.
Technique:
I won’t get too bogged down with detail here, but will provide a few tips to get you on your way. It is largely a process of trial and error to suit whatever look you are hoping to achieve. I won’t delve into the rules of composition in this blog either, as I’m not a big fan of rules and find they can be restrictive to creativity. There are LOTS of resources available online though if you wish to brush up on composition.
When photographing waterfalls, my main priority is the shutter speed. If I know I want a speed of say 3 seconds, I will begin from there. The trick to long exposure photography of any kind is balancing the exposure triangle (refer to my friend Dave’s blog here It’s all about the triangle) to ensure that you can keep your shutter open for an extended time without over exposing your shot. You want to RESTRICT the amount of light hitting your camera’s sensor. My tip is to use a small aperture (f16+) and keep your ISO as low as your camera allows.
If you are doing all this and your image is still coming out too bright, this is where the ND filter comes in. I find my inexpensive circular variable filter handy here – I haven’t used my square ones often enough to learn what filters suit each circumstance best. I also haven’t been all that happy with the quality of my cheap eBay set which have an odd colour cast. I really should experiment more with them though as the budget doesn’t allow for a high end set at this time.
One last tip is to use a graduated filter when necessary. Waterfall photography can tend to be particularly frustrating when the top of a fall is in direct sunlight and the bottom in shade. A graduated filter can bring down the exposure of the top and can be used in conjunction with a solid filter (or filters).
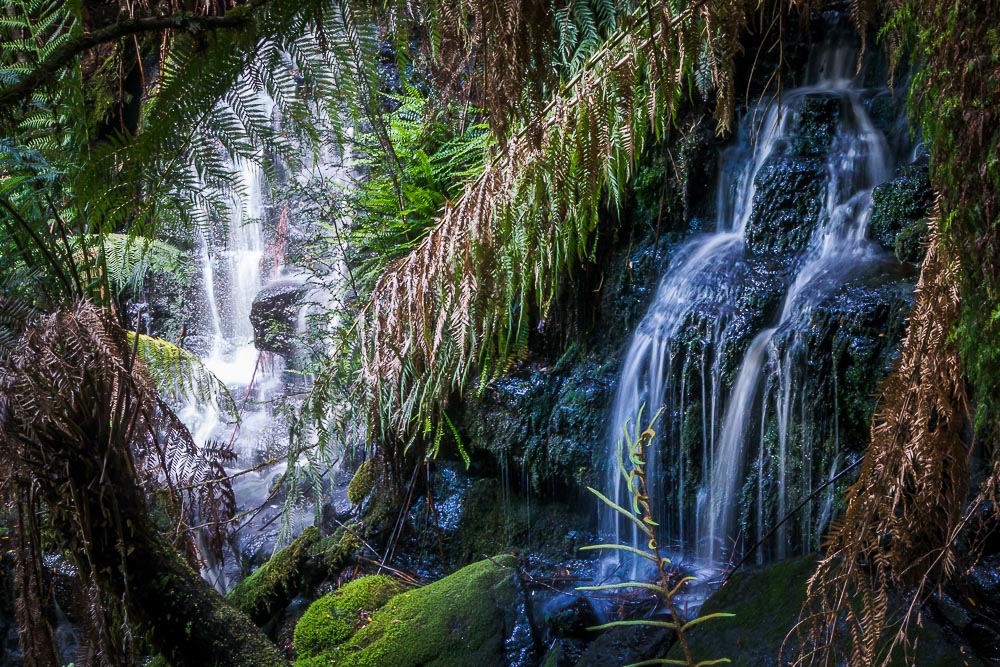
As an example, the image below was technically tough as the fall on the left was in direct sunlight, while the one on the right was in shadow. I actually didn’t use a filter here but waited for some cloud to cover the left falls. In hindsight, a filter would have been easier but I didn’t have one handy. As it turned out, I was able to make some adjustments in post processing, but the left hand side is still a little blown out.
Here are a few of my collections…..
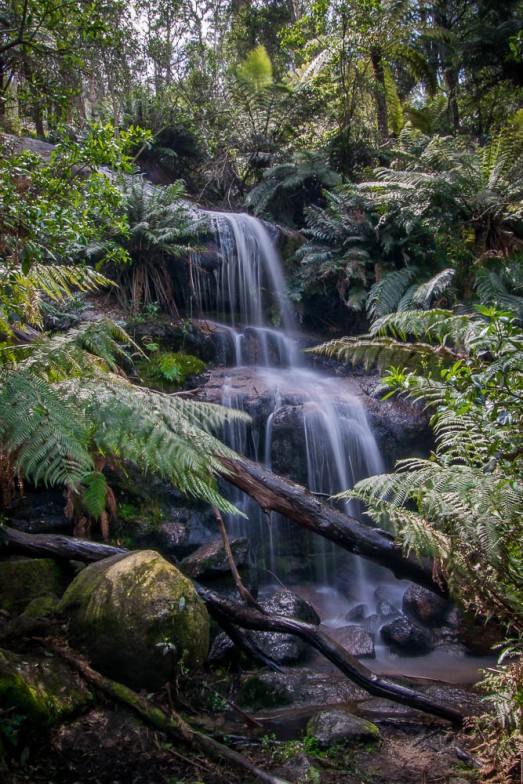
Trentham Falls, Vic
At 32m, Trentham Falls is said to be the biggest single drop waterfall in Victoria. It is one of my closest waterfalls and I visit regularly. This collection shows the falls in various flow conditions. The first image shows an additional challenge from strong waterfalls – spray. I have also included a photo with a faster shutter speed, which also gives a nice effect and quite different to the stereotypical long exposure.


Sailors Falls, Daylesford, Vic
Close in proximity to Trentham Falls and often close to dry. Very pretty when it has good water flow, and it’s a lovely walk down to the bottom, where you find some smaller falls to photograph.


Turpins Falls, Vic
Again, close to Trentham and Sailors Falls and often close to dry – these three falls can be done in one day and three walks to the bottom and back up again provide quite a workout.


Marysville, Vic
Keppel, Phantom & Steavenson Falls. Keppel Falls was by far my favourite of this trio – a lovely 1km walk from the car park. Phantom Falls was a longer hike but a little underwhelming and hard to get a good angle (safely) to photograph it. Steavenson is the most visited by tourists, with manicured paths, information boards and night lighting. I personally prefer my waterfalls a little more wildernessy.


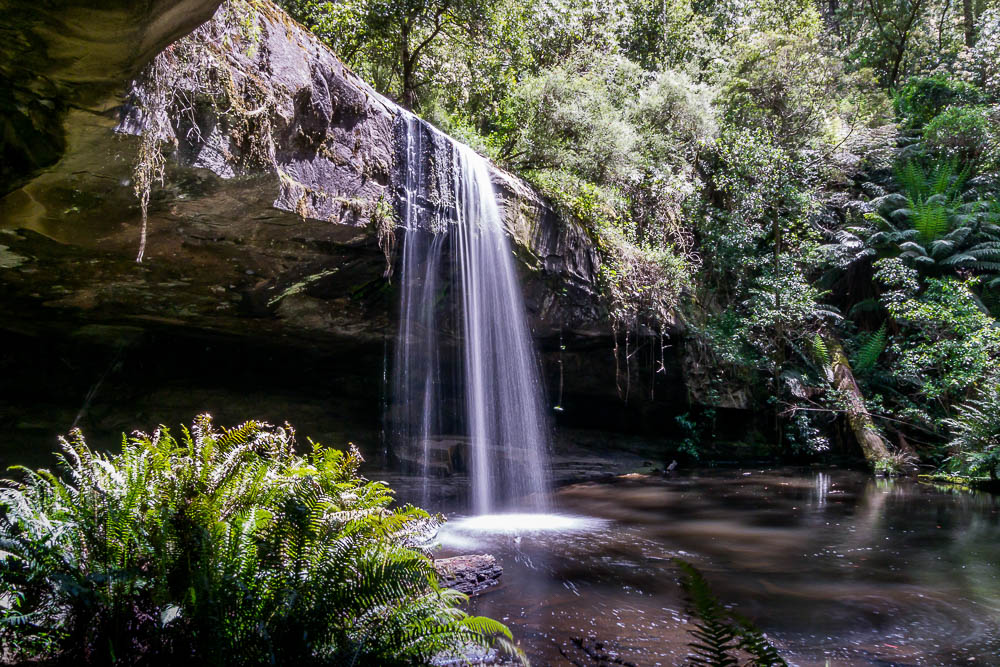
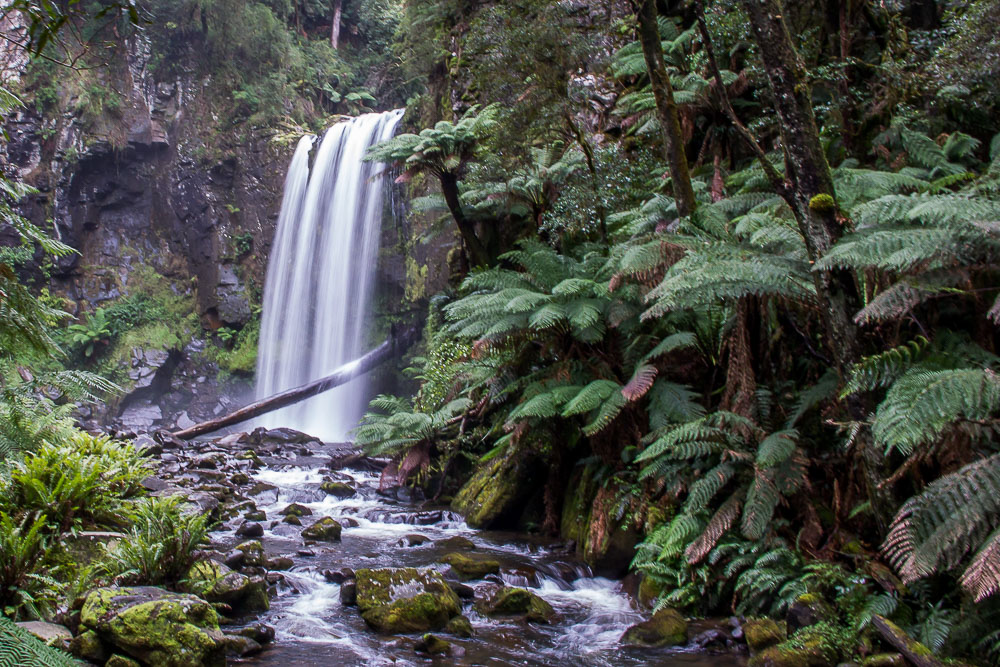
Beauchamp Falls, The Otways, Vic
Another very pleasant walk through rainforest to this one.


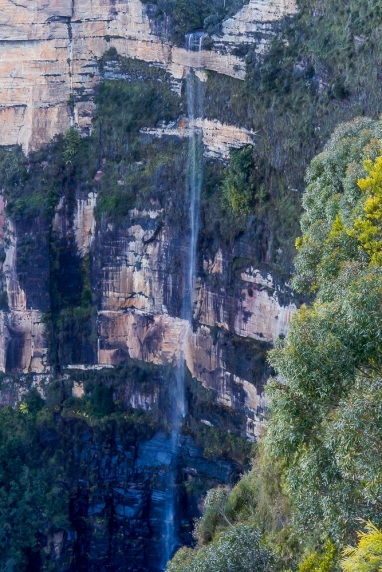
Katoomba Cascades and Katoomba Falls, Blue Mountains NP, NSW
Breathtaking with a 244m drop, the full image of the falls is taken with my new Tamron 11-16mm lens on my Nikon D90, while traveling across a ravine on a cable car.


Wentworth Cascades and Wentworth Falls, Blue Mountains NP, NSW
A beautiful place, with views galore from the many walking tracks. The full length of the falls was difficult to capture – I had to use a zoom and also battled the half sun/half shade issue.


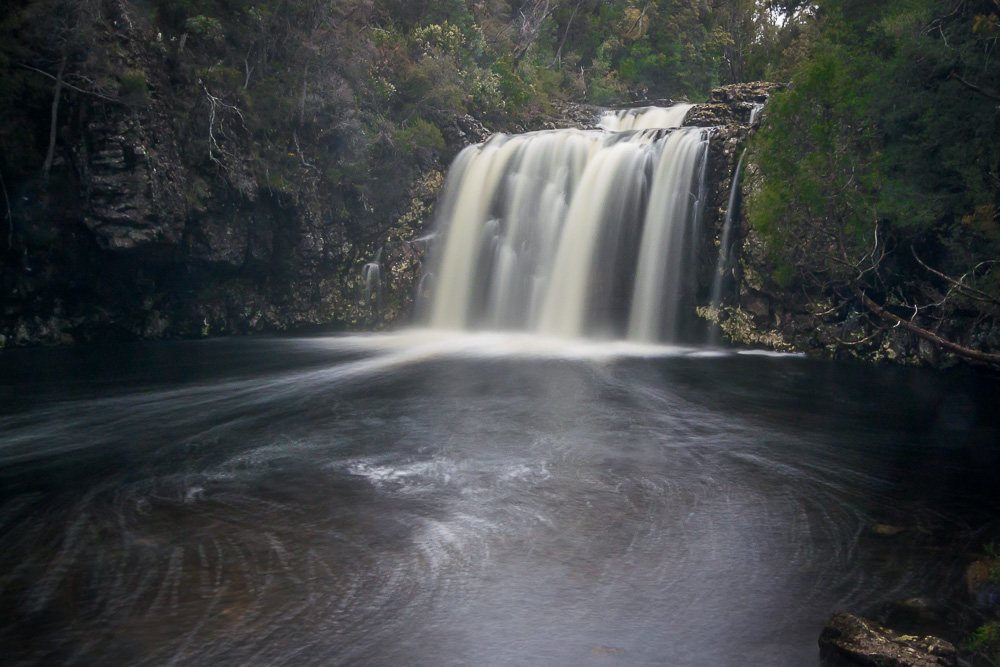
Last but not least – one of my all time favourites – Russell Falls, Mt Field NP, Tasmania. A beautiful spot and an easy 10 minute walk from the car park. The only way this place could be made better is if it was more of an adventure to get to, and had less tourists. The last image is taken in almost dark conditions – we had ventured there after dark to check out the nearby glow worms.


Good blog. I feel some of the photos are not in focus.
LikeLiked by 1 person
It sure has been a steep learning curve. A lot of the blurred ones are due to camera shake and also the movement of trees etc during the long exposures.
LikeLike
That’s ok. I can see your effort and the experiments with gears to get the milky effect (you call it as silky effect) . Some pics are really calendar quality
LikeLiked by 1 person